Process

Our Striping Process

Parking lot striping machine and crew equipment used for commercial pavement markings

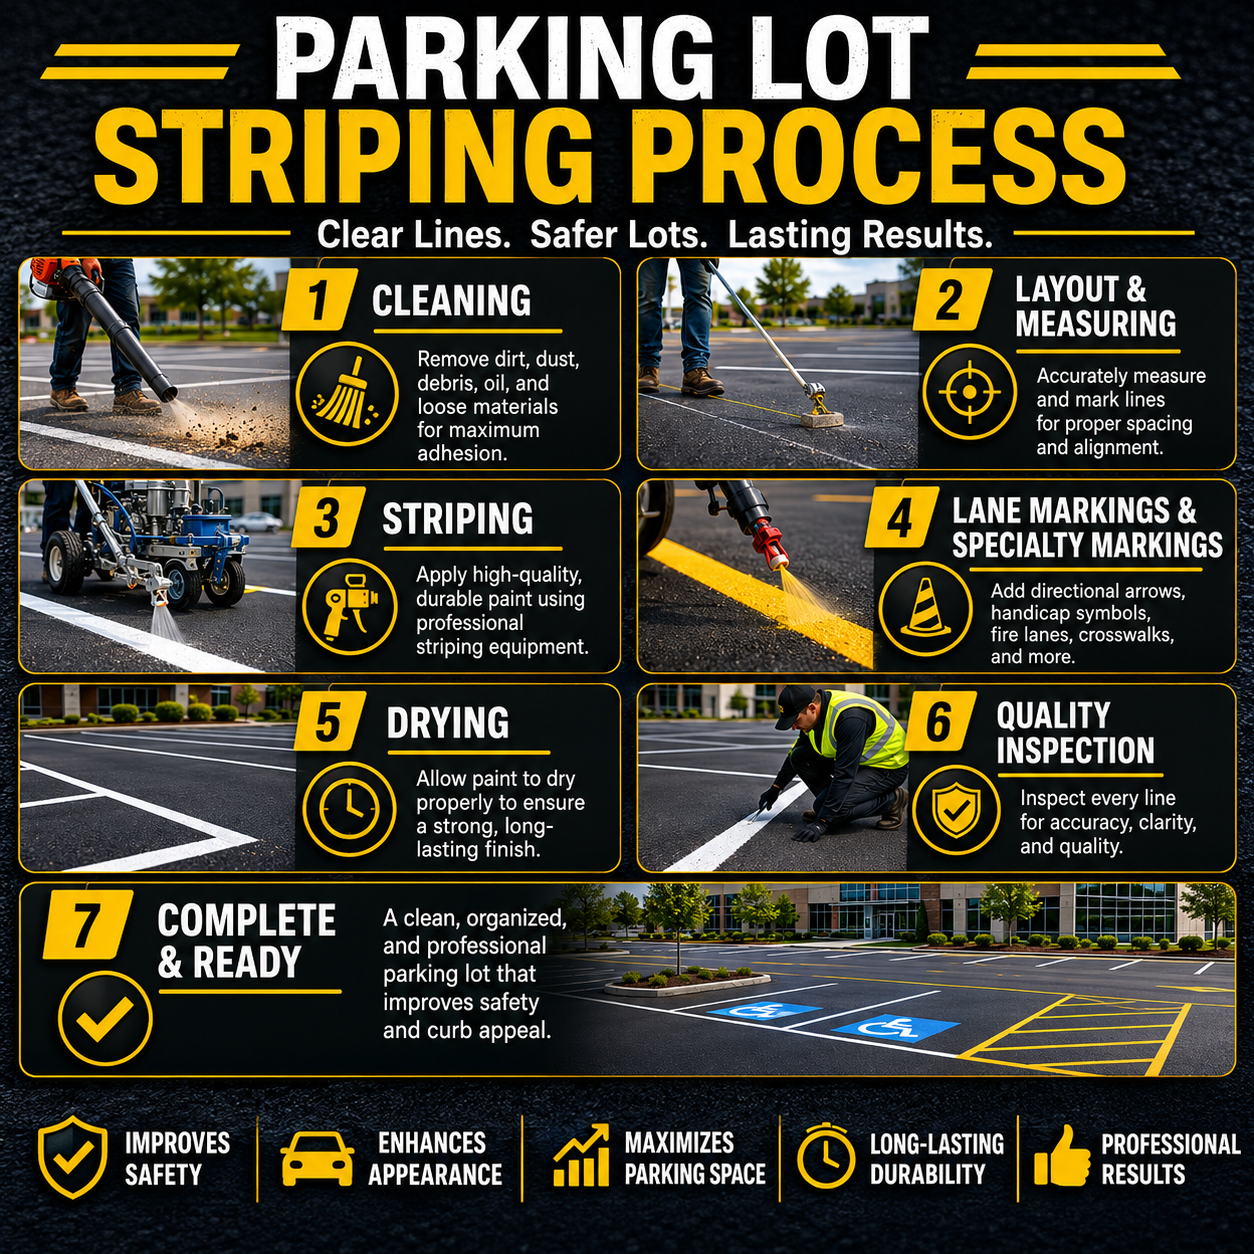
Good striping starts before paint hits the pavement. The lot has to be measured, winter damage has to be noticed, and the surface needs to be ready for paint to bond.

How a Typical Job Moves

  1. Site walkthrough: We look at entrances, drive aisles, ADA spaces, fire lanes, loading zones, pedestrian paths, drainage, plow damage, and active traffic.
  2. Measurements: Stall widths, aisle dimensions, access aisles, crosswalks, and stencil locations are measured against the usable pavement.
  3. Layout planning: We confirm traffic direction, tenant access, closure sequence, and whether the lot should be striped in phases.
  4. Surface prep: Loose debris, winter grit, and surface moisture are addressed before painting.
  5. Chalk layout: Critical lines, stencils, and arrows are chalked so spacing problems are caught early.
  6. Striping application: Lines, arrows, ADA symbols, curbs, fire lanes, and stencils are applied with attention to overspray and alignment.
  7. Curing times: Reopening depends on temperature, humidity, shade, airflow, and paint type. Cold conditions can slow curing.
  8. ADA verification: Accessible stalls, access aisles, symbols, and routes are checked against the agreed layout.
  9. Final inspection: We walk the job, remove cones when safe, and note any areas that need touch-up.

Process

Walkthrough, measurements, chalk layout, prep, paint, curing, and final inspection.

ADA Guide

Access aisles, signage, visibility, slopes, and common marking issues.

After Winter

Spring inspections, plow wear, salt damage, and repaint timing.

Call Now